Basic GitLab workflow
Working with a data repository on GitLab requires using issues and merge requests. Creating an issue and a merge request before making changes ensures a clear and organized workflow. This process promotes collaboration, maintains data quality, and helps manage the dataset by keeping a detailed record of all changes and enabling reviews.
The basic GitLab workflow:
- Create an issue
- Create a merge request
- Work on the issue
- View changes
- Request merge
Step 1: Create an issue
Whenever changes are required in the data repository, create an issue(1) describing the proposed changes.
- An issue can be seen as a tool for planning, documenting, and structuring work. It can also be used for discussions.
To do this, navigate to the repository and select Issues from the left-hand panel.
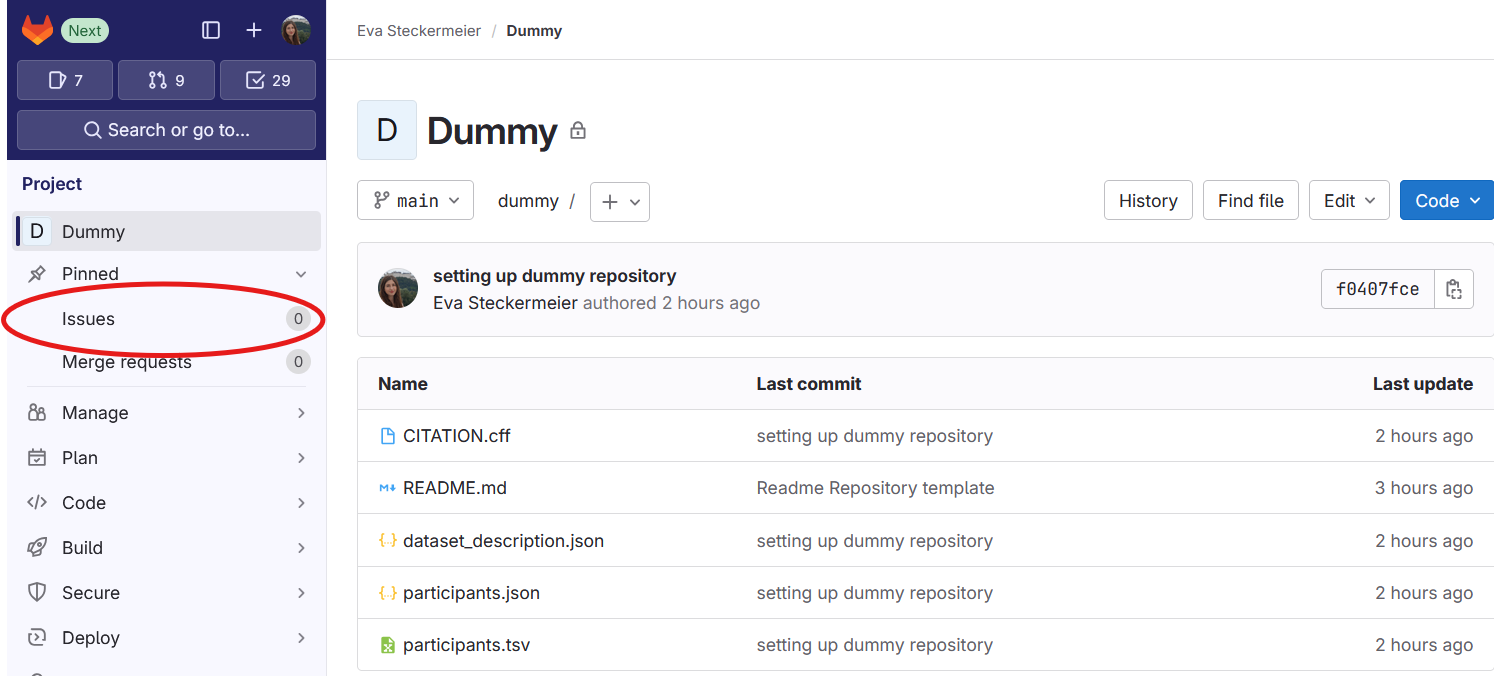
Then click on New issue.

Create the issue by providing a title and a detailed description of the planned changes.
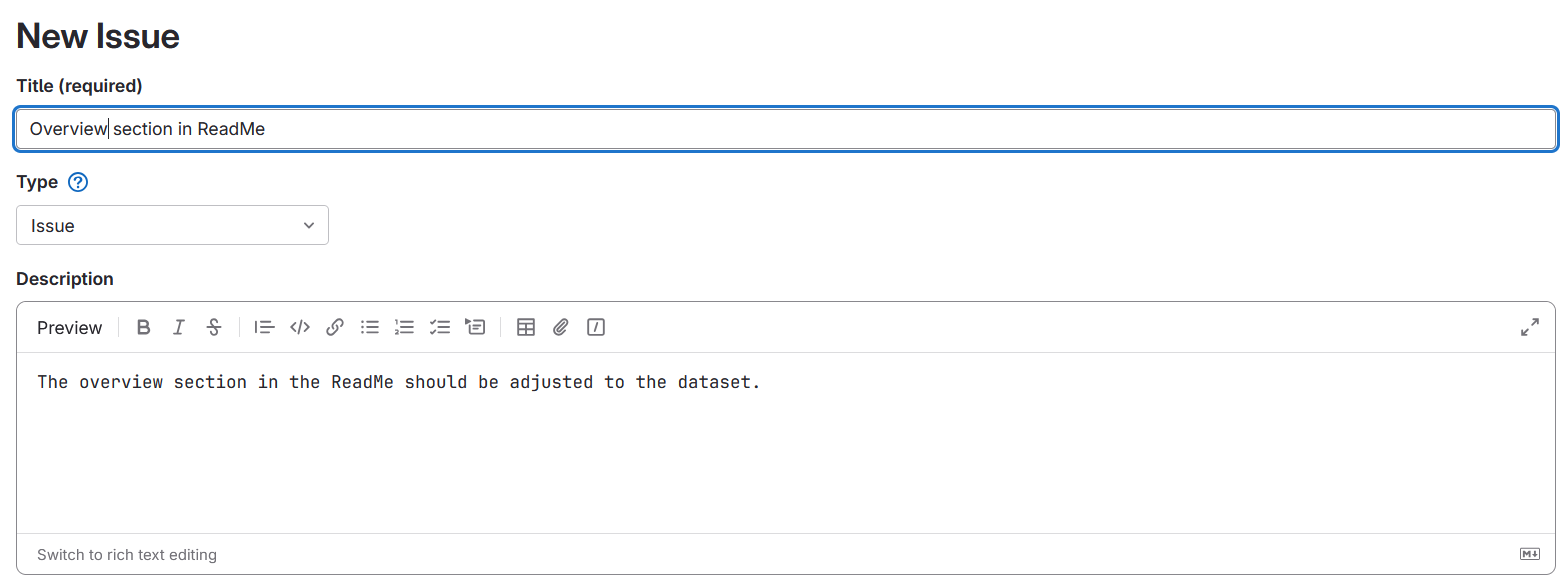
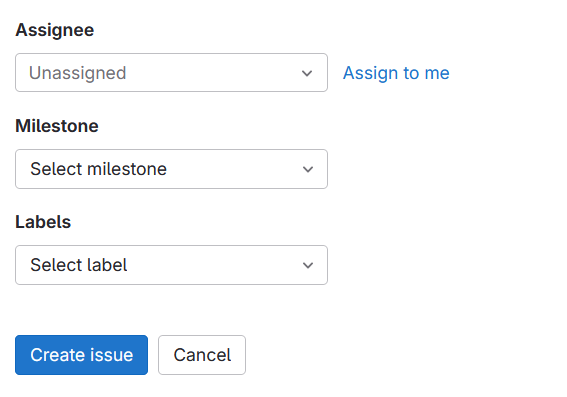
Asssign the issue to the person who will work on the implemenation of the changes. Finally, click Create issue at the bottom of the page.
Step 2: Create merge request
After creating an issue, the next step is to create a merge request. When you create a merge request for an issue on GitLab, two things happen. GitLab creates a new branch(1) of your data, and a merge request(2).
- The branch is a parallel version of the repository that allows you to work on changes without directly affecting the whole dataset.
- A merge request is a request to apply the changes that were made on one branch to another, usually the default or main branch of a repository. A merge request can start out as a draft and comes with a useful interface where you can review the current difference between two branches and where additional discussion can happen.
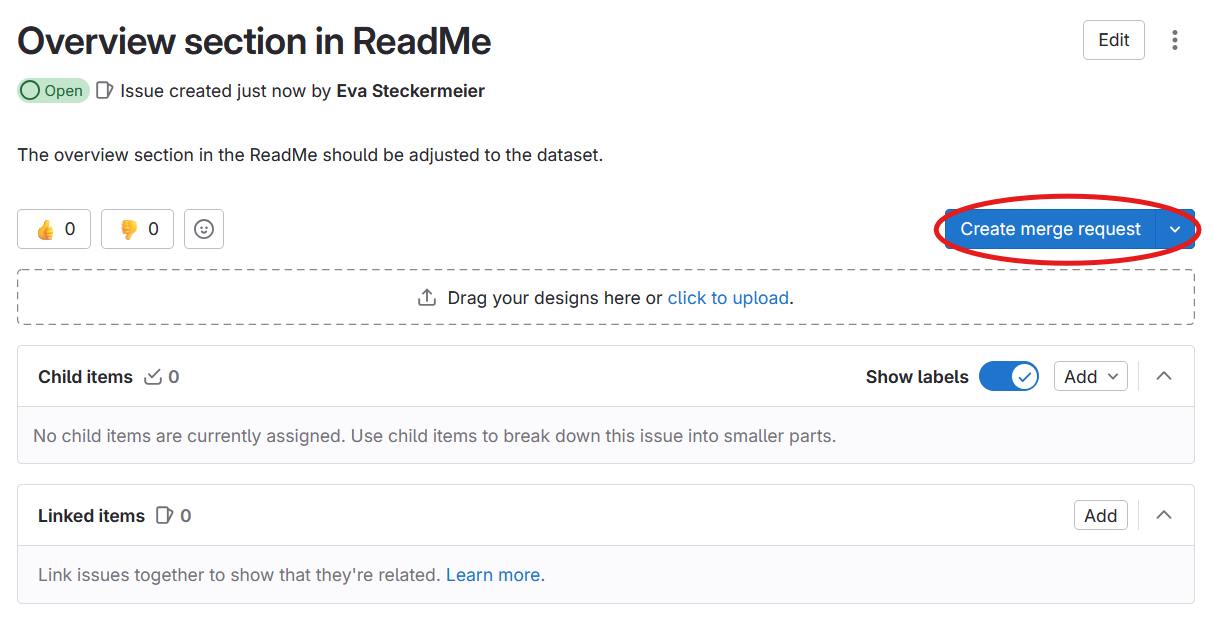
To create a merge request, navigate to your issue and click on Create merge request button on the right-handed side.
Duplicate branches
Before clicking Create a merge request in the issue, ensure there is no existing branch for this issue, nor an existing merge request. The new branch is created immediately upon clicking Create merge request from the issue, while the merge request itself is not created until you confirm it on the next page. If you do not confirm the merge request here, there will only be an additional branch. When you create a merge request from the issue again this will result in a duplicate branch.
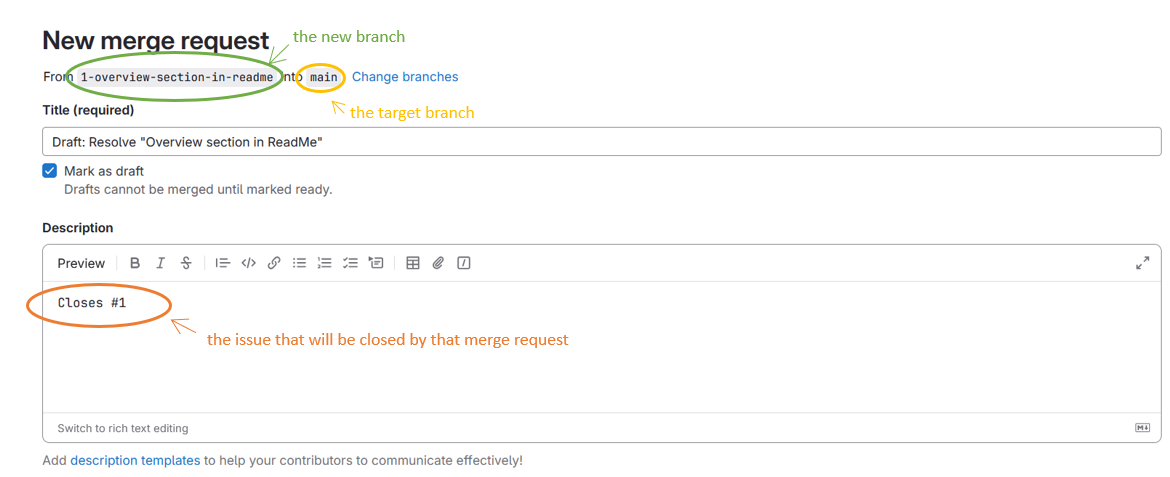
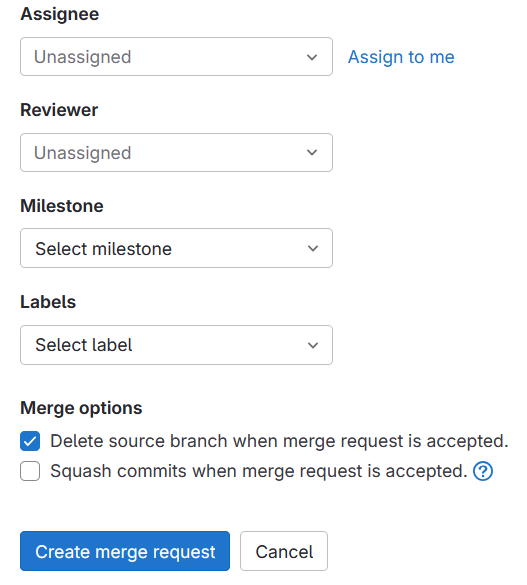
Now, assign the merge request to the person who will be working on it. Do not assign a reviewer at this stage. Only request a review once all changes for the issue have been implemented. Finally, click on 'Create merge request'.
Step 3: Work on the issue
Now, start working on the issue. Depending on what the work is you might be able to make changes using the Web IDE, or you might need to work locally. Ensure work is done on the branch associated with this specific merge request.
Don't change large files in the WebIDE
Due to a bug in GitLab it is currently not possible to make changes to large files in the WebIDE. Such files must always be handled locally. Changing these files in the WebIDE will corrupt their content. Large files are marked as LFS in the repository. They include nifty, image and audio files, among others.
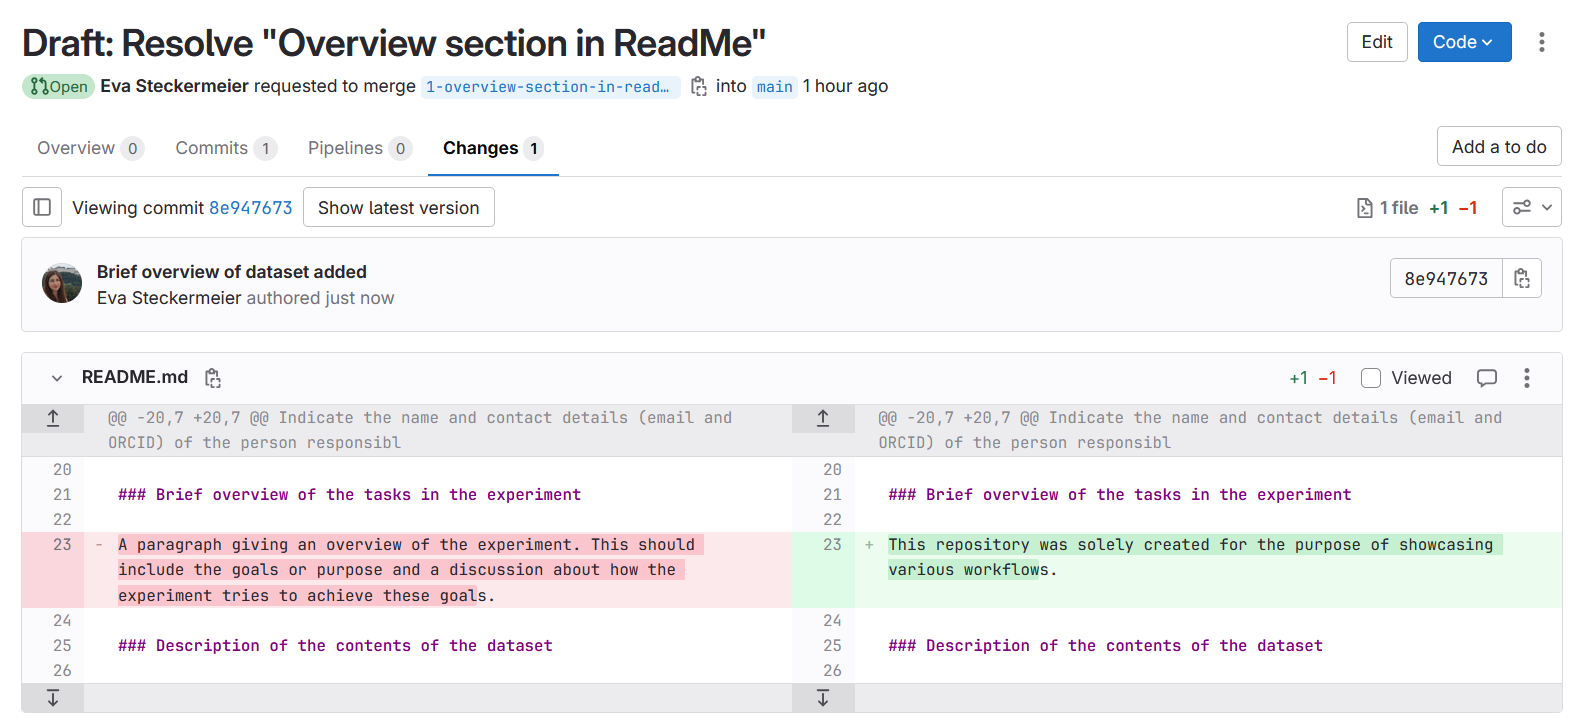
Step 4: View changes
View all changes made in a merge request by navigating to the merge request and selecting Changes.
Step 5: Request review and merge of changes
After implementing all changes proposed in the issue, request a review from your data steward.
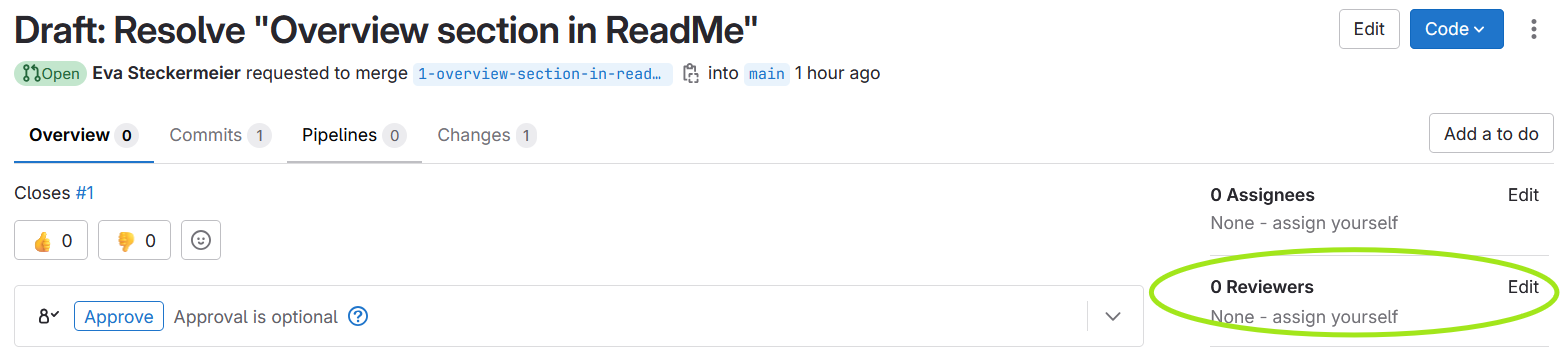
The data steward will review your merge request and merge the changes.